|
|
 |
|
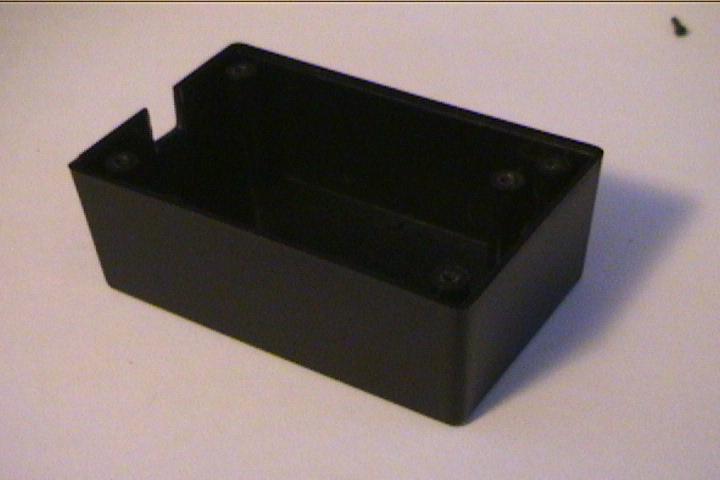
Step 2: Now make the parts needed to make the transformation to an Astrocam. I used a Radio Shack project box. The box comes with PCB that fit perfectly in the box. It cost about $3 and works just great and has room for the future cooling system. |
|
|
||||||||||||||||||||||||||||||||||||||||||||||||
|
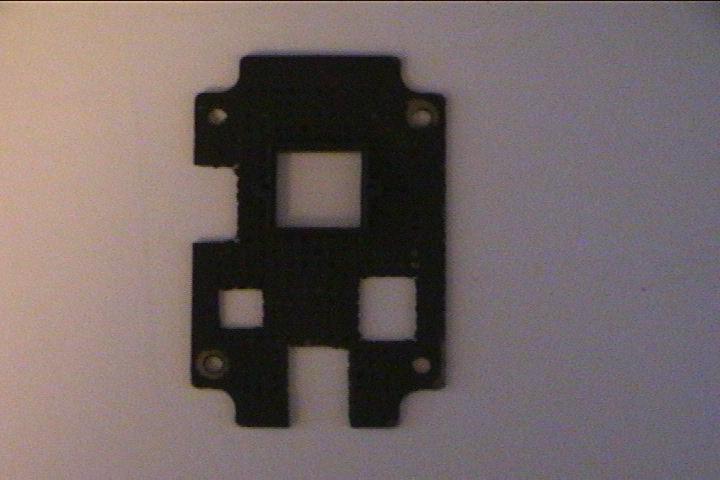
Remove the len holder from the PCB. The two little screws are located on the back of the circuit board. You should now have two screws, the CCD element frame, and the lens holder itself. |
| [Disassembly] [Fabarcation] [Assembly] [Final Assembly] [Testing] |